


Hello everything
On this occasion I will share a tutorial on how to create cartoon photos using PicsArt app. Turning photos into cartoons is very interesting and our photos will look unique and different from the usual. Well turning photos into cartoons is often done by most people because the results are good, funny and not boring other than that our photos will look more unique.
On this occasion I will share a tutorial on how to create cartoon photos using PicsArt app. Turning photos into cartoons is very interesting and our photos will look unique and different from the usual. Well turning photos into cartoons is often done by most people because the results are good, funny and not boring other than that our photos will look more unique.
Editing photos into cartoons can be done using the help of software or photo editing applications. But not all photo editing apps can turn our photos into cartoons for that required a special app that can turn our photos into cartoons.
One of the Applications that can turn our photos into cartoons is Picsart Applications, In addition to picsart Applications there are also photo editing applications that can turn our photos into cartoons like MomentCam, Sketch Guru, Cartoon Camera, Paper Camera, and so forth.
But in our language this time we will use Picsart Applications, why should the Picsart application? because the result is better and we can set our own kind of photos that will be converted into cartoons.
Edit Photos to Cartoon using Android PicsArt
The steps to make a photo into a cartoon are as follows:
Below is the image of our discussion this time.
Below is the image of our discussion this time.
- Open Picsart Applications on your android phone, Then take a photo that you will edit into a cartoon, after the photo has been entered it will appear as shown below.

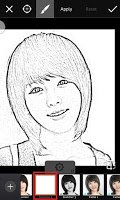
- If the photo has been successfully inserted, then we will give effect, the effect we use here is the effect of sketcher 2 with this effect we can make a sketch / design to make a photo into a cartoon, to use this effect you can Press Effect, Then Select Artistic Then find and select Sketcher 2, After that press Check in the top right corner, note the picture below.
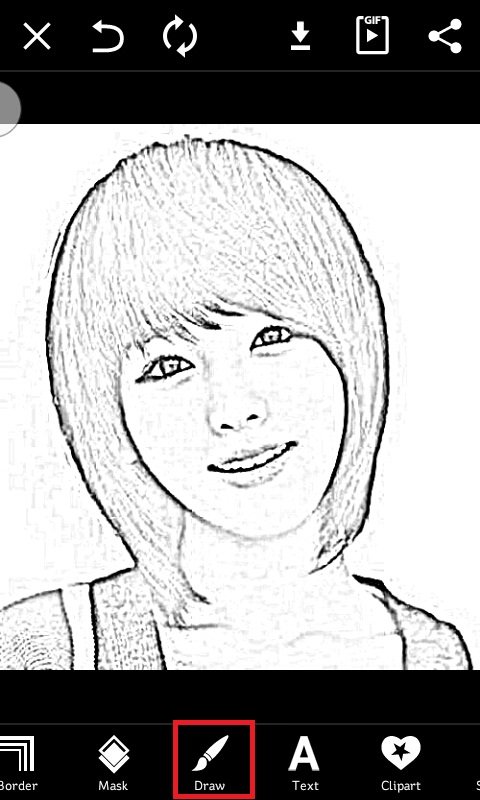
- After we sketch the Sketcher 2 effect, the next step is to go to the Draw page, on the draw we will start coloring the photo and the process to create the cartoon, to get into the draw page, Press on Icon Draw then you will enter to the Draw page, see picture below.
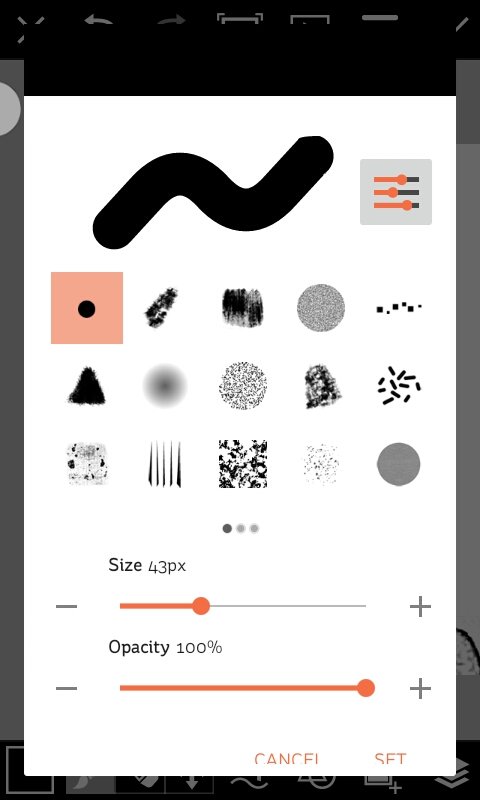
- The next step, is to give color to each part of the photo, create a new screen, this layer is used as a place to color the parts of the photo. To add a layer you can do it by pressing on the Screen icon -> Tap icon (+) -> Empty Screen.
At this stage we first color is on the Hair. Select Brush and select the color to your liking, then do the coloring on the hair.
To draw it follow with sketch on the picture. Results

5 Repeat step 4 to color on the face, skin and shirt, and give color with different color - For example see picture below.
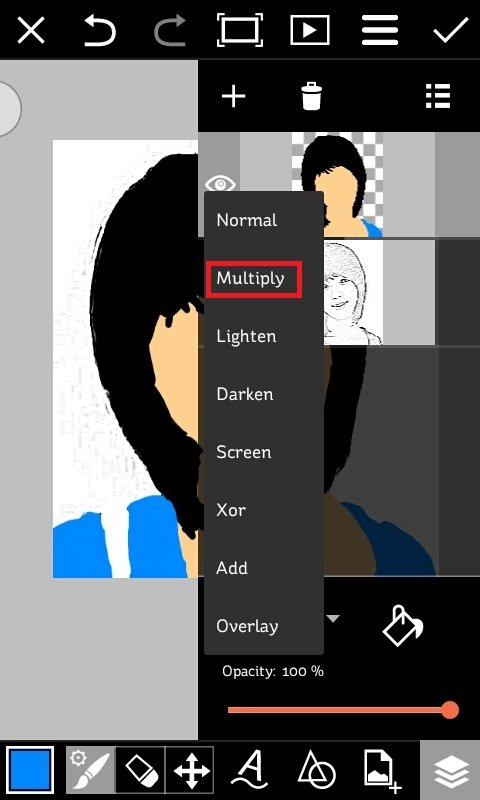
6 After the coloring process is complete, the next step is to change the Blending Normal to Multiply, This we do aims to the lines - lines contained in the photo was visible, to more clearly see the difference after the blending is changed and not in the change.
To draw it follow with sketch on the picture. Results
5 Repeat step 4 to color on the face, skin and shirt, and give color with different color - For example see picture below.
6 After the coloring process is complete, the next step is to change the Blending Normal to Multiply, This we do aims to the lines - lines contained in the photo was visible, to more clearly see the difference after the blending is changed and not in the change.
Results after being changed
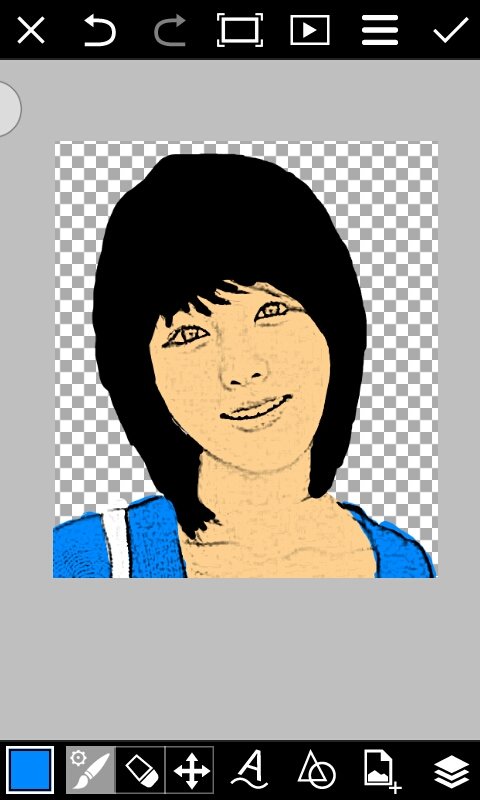
7 Done, please save your edits. You can also add Background in it for better results.
That's the least I can share with you on how to edit photos into cartoons. Hopefully this article will be useful for you and add new knowledge and experience


No comments:
Post a Comment